This article is a guide for customers on Hustly WordPress hosting plans.
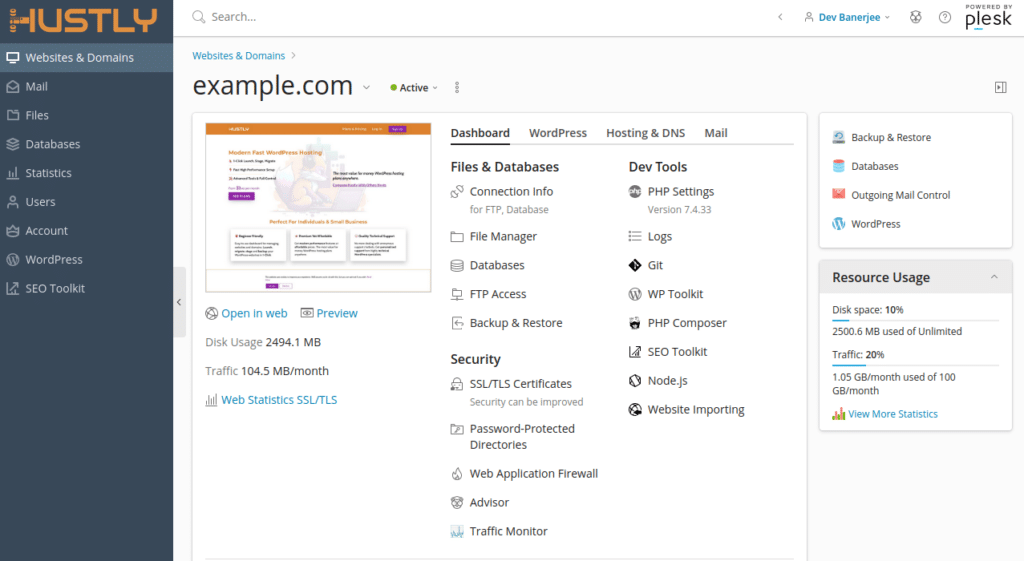
If you are on a Hustly WordPress hosting plan, you will be able to access your hosting environment via the Plesk admin panel. The Plesk admin panel has a whole suite of advanced controls and configuration options. Some of these features include launching – (i) migrating or cloning websites in 1 click, (ii) connecting and managing new domain names including their DNS settings (iii) accessing files on your hosting server via FTP, SSH or a browser based file managers, (iv) accessing your hosting server settings (v) accessing your cache settings, (vi) managing your installed packages and many others.
Access to your Plesk hosting panel is provided through the Hustly website management app. In order to access the hosting panel, you should have already set up the following, during the Hustly hosting account set up process:
- Purchased a hosting plan from Hustly
- Added a domain name to your Hustly account
- Updated your hosting account with a server admin user name.
A detailed guide to setting up your Hustly hosting account is here.
Once you have completed all the three steps above, your Plesk login details will in the website section of your Hustly hosting account. Simply login to the Hustly website management app and select the domain for which you need to access the corresponding Plesk panel.

Scroll down to the “Hosting admin panel” section, and you will find the admin details for the Plesk panel that manages the selected domain.
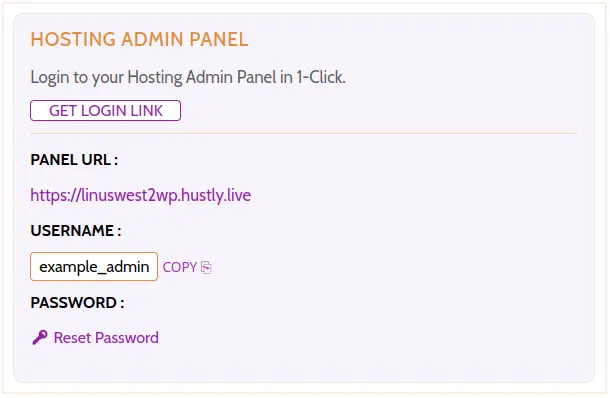
1-Click login to your Hosting Admin Panel (Plesk)
The 1-Click login feature is a simple, secure and quick way to access your Plesk panel. This method generates a temporary login link that you can use to login to your Plesk panel.
To login to your Plesk panel in 1-Click, click on the “GET LOGIN LINK” button. A one-time login link will be fetched.
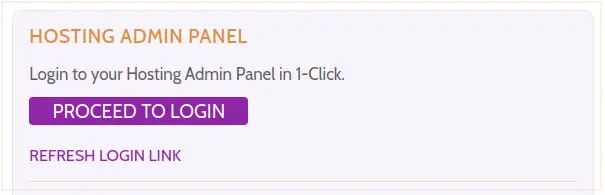
A “PROCEED TO LOGIN” button will be shown once the login link is fetched. Click on this button to login to Plesk. This secure login link is short lived for security reasons. Once the link or your logged in session in Plesk expires, you can generate a fresh link by clicking the “REFRESH LOGIN LINK” button.
Login using Username & Password
You can also generate a username or password to login to Plesk using a URL.
If you have not generated a password for your Plesk panel before, or have forgotten your password, setup a new password by clicking on the “Reset Password” button. A secure password will be automatically generated and showed to you.
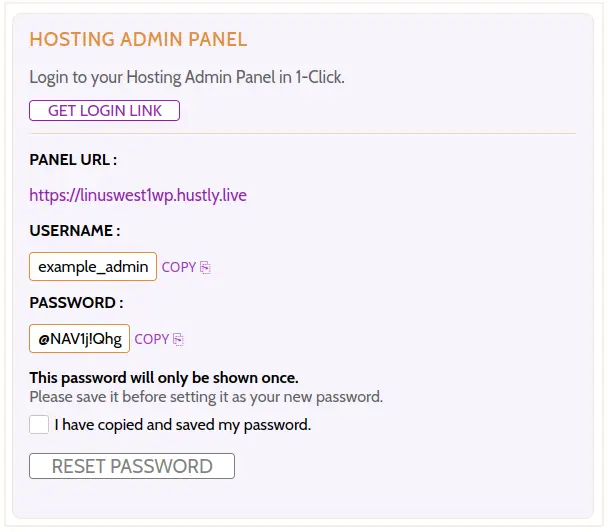
Please ensure that you copy and save this password, as this will be shown only once. In case you forgot to save this password or forgot your password, you can generate a new password anytime by repeating the steps above.
Once you have saved the password, please remember to set your Plesk password by checking the confirmation box and clicking the “RESET PASSWORD” button.
Please wait for the password update process to finish. Once you have set the password, you should be able to login with your new credentials.
To login to your Hosting Admin Panel (Plesk), simply visit your Panel URL, shown in your Hustly account dashboard, and login with your newly generated credentials.
Please note that if you have chosen to launch websites multiple locations, you will have access to a unique Plesk panel for each location that you select. Each of your hosting panels will be setup with the same username, but unique secure passwords. You can reset your passwords from your Hustly account or from within the hosting panels.
Please note that your passwords are never visible through your Hustly account. You can only create new passwords. You should secure each of your admin panel passwords securely, and preferably in a high quality password manager.
The best security practice would be to update your admin panel passwords frequently (every month is a good start). Frequently updating account passwords keeps your panel secure.
We hope you found this guide useful. Please let us know if you have any comments or feedback below, or by visiting our support page.